Meal Prep for Beginners: Your First Prep, Step by Step
Four lunches. One recipe. A little less to think about during the week.
Meal prep means preparing meals or ingredients before you need them. Here, you'll work through your first batch from checking your calendar to putting lunch on the table.
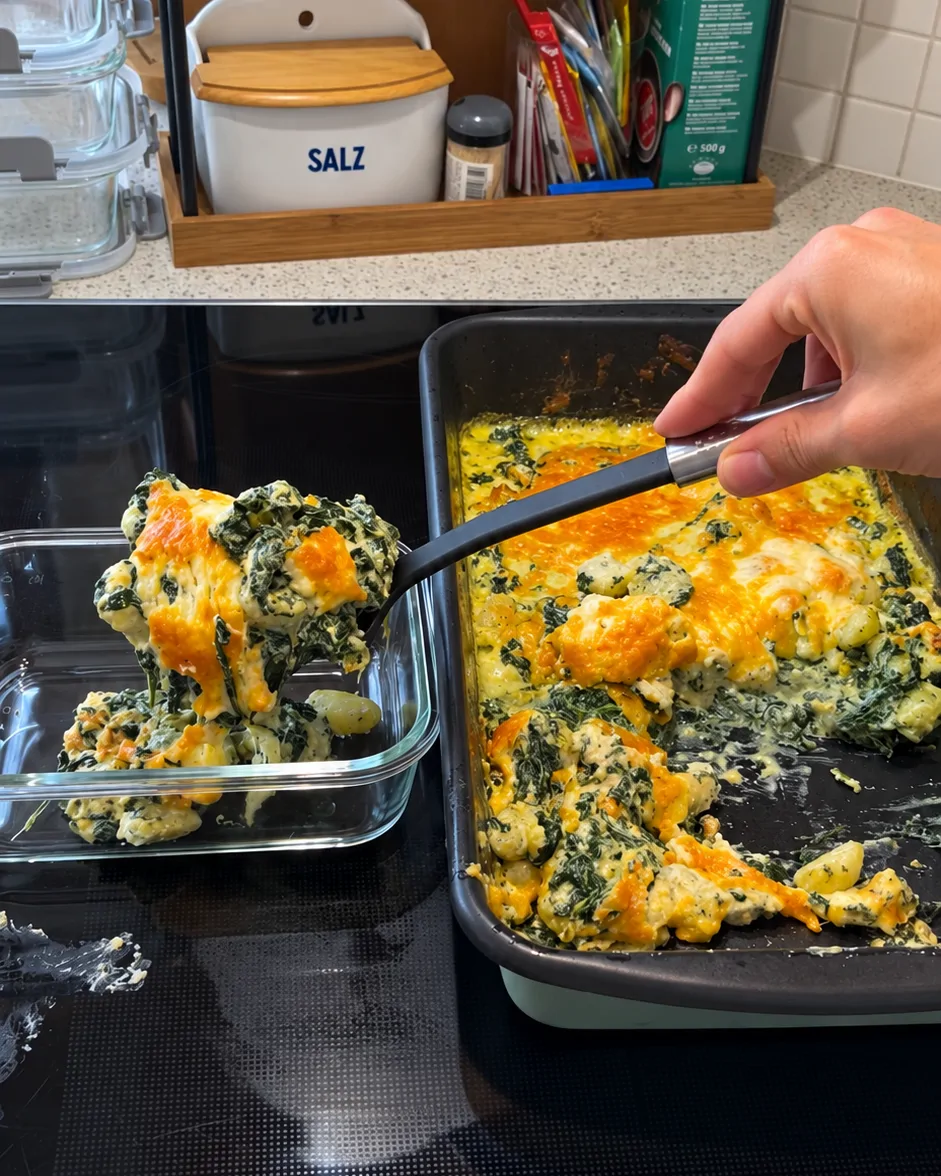
We'll use one gnocchi bake throughout, so you can follow the same meal from shopping bag to lunch container. You don't need an account or an app to take part.
Written by PrepYourWeek•Published •about 8 min read
Contents
Your first prep at a glance
Our example
Who
One person
What
Four work lunches, Monday–Thursday
Recipe
Creamy Spinach Gnocchi One-Pot Bake, four servings
When
Sunday late afternoon
Bring
Four shallow food containers with matching lids
Check first
Oven, fridge and freezer at home; chilled storage and reheating at lunchtime
The recipe lists 30 minutes of cooking. Allow extra time for setup, preheating, portioning and clearing up.
Open your calendar before choosing what to cook. Which meals would be easier if they were already made?
FOLLOW-ALONG EXAMPLE
Monday
Tuesday
Wednesday
Thursday
Prepared lunch
Prepared lunch
Prepared lunch
Prepared lunch
That's four lunches for one person. Write down four portions.
What if your week looks different?
Perhaps you're eating out on Wednesday and cooking lunch at home on Friday:
Day
Lunch plan
Monday
Prepared lunch
Tuesday
Prepared lunch
Wednesday
Lunch out
Thursday
Prepared lunch
Friday
Cooking at home
You need three prepared lunches in that week. Count the meals you actually need; being at home only changes the count if you have another lunch planned.
2. Choose one simple recipe
Choose a dish you want to eat more than once, with equipment you already have. Check the ingredients for anything you cannot eat and make sure you can store and serve it as intended.
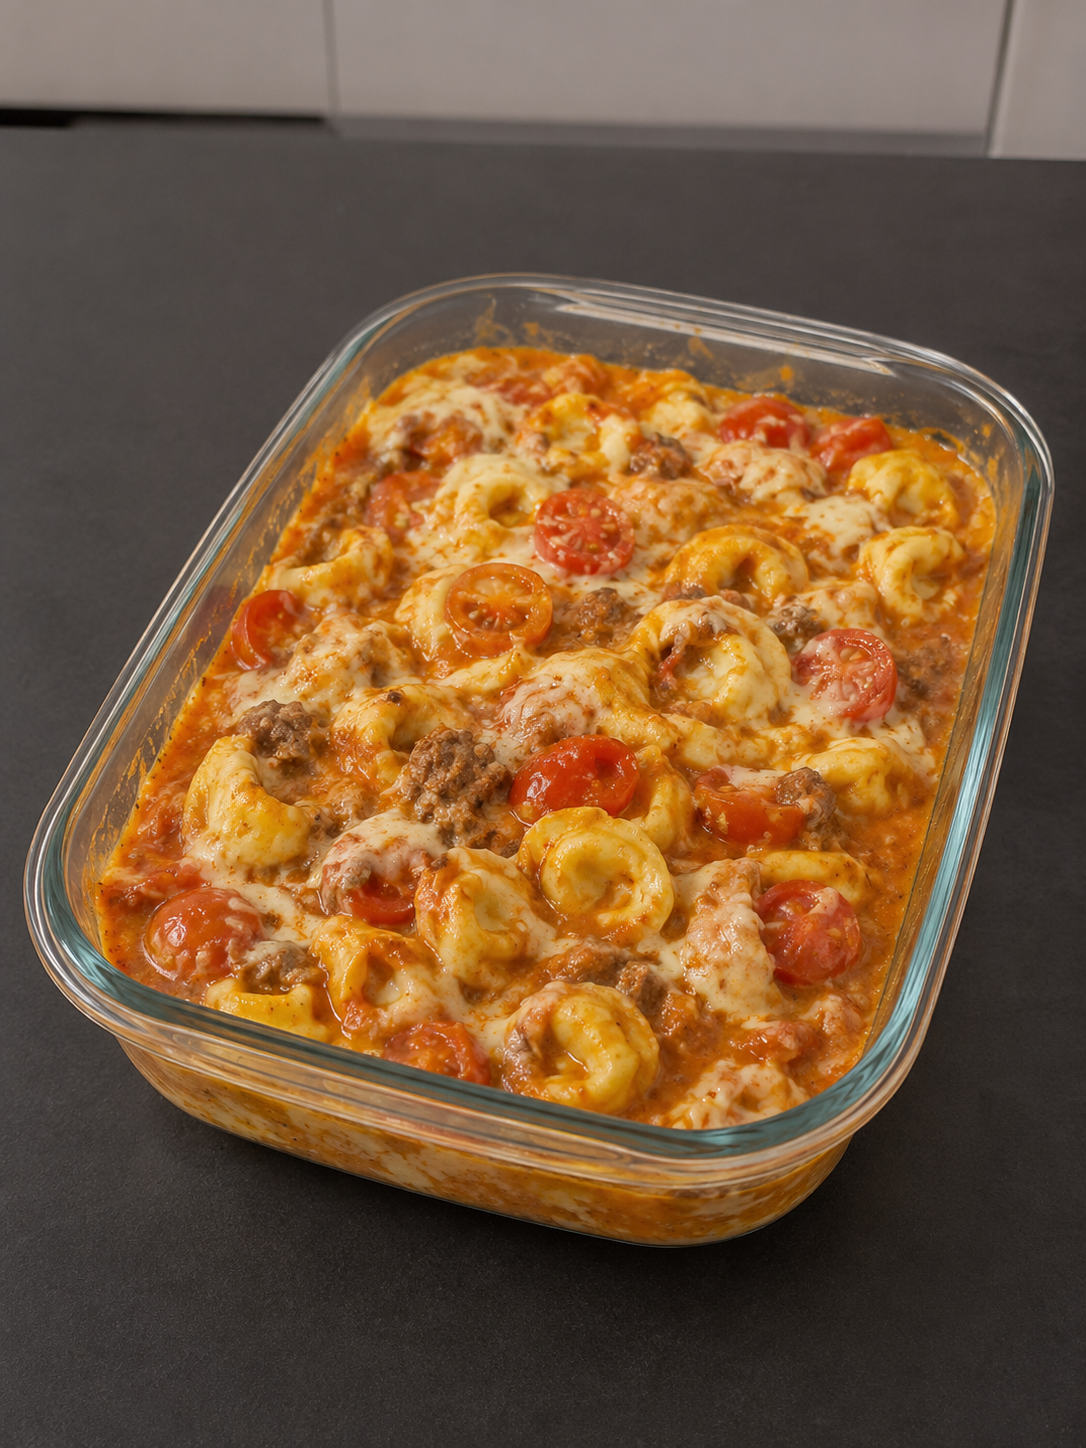
Gnocchi, spinach and a creamy sauce cook in one baking dish, with cheese added for the final stage. There's no chopping or separate side dish in the published method.
Makes 4 servings · Published cook time: 30 minutes
Calculated nutrition per serving: 461 kcal · 25 g protein · 45 g carbohydrate · 19 g fat. These are ingredient-based estimates. How we calculate nutrition.
You can choose another suitable recipe. We'll keep using this one throughout the guide so you can see exactly how the same four lunches come together.
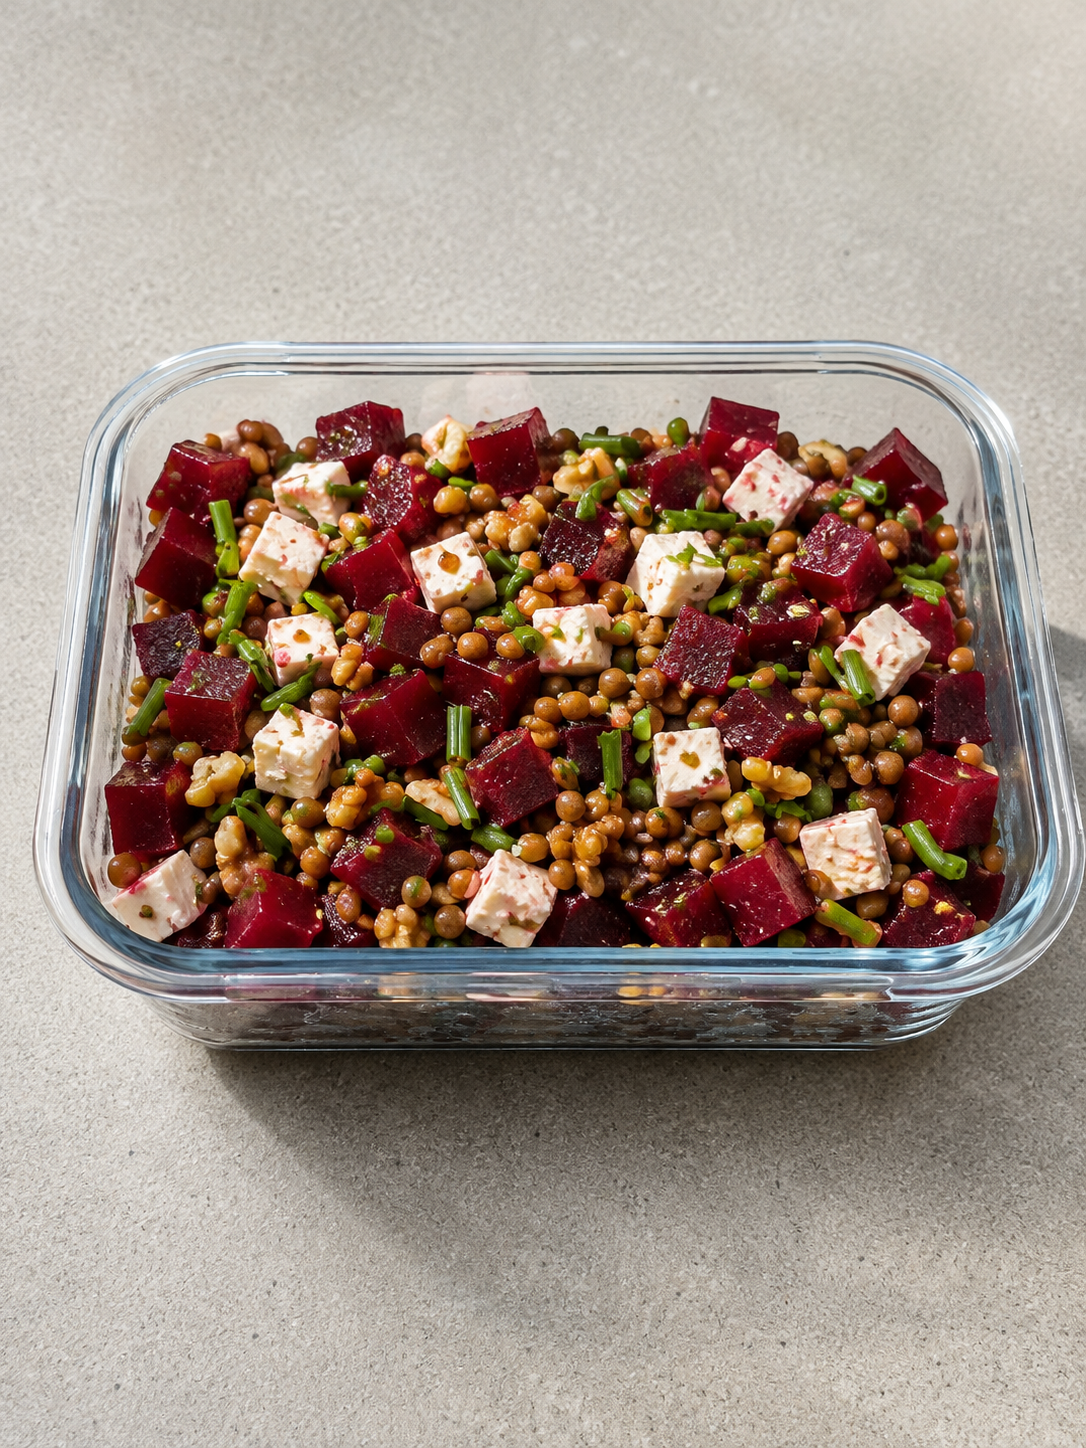
These links open different recipes; they don't change the ingredients or storage example below. Follow the chosen recipe's own requirements. The salad is not a four-day refrigerator plan.
You need four lunches. The gnocchi recipe makes four servings. Make one batch using the quantities below.
Tip: If you eat a portion on Sunday, you'll have three lunches left. Count anyone else who will eat from the batch, too.
Need more or fewer servings?
A two-serving recipe doubled makes four servings. A four-serving recipe halved makes two. Ingredient quantities can scale; cooking time, dish size and doneness checks need separate attention.
PrepYourWeek can adjust ingredient quantities when you change the number of servings.
4. Check what you already have
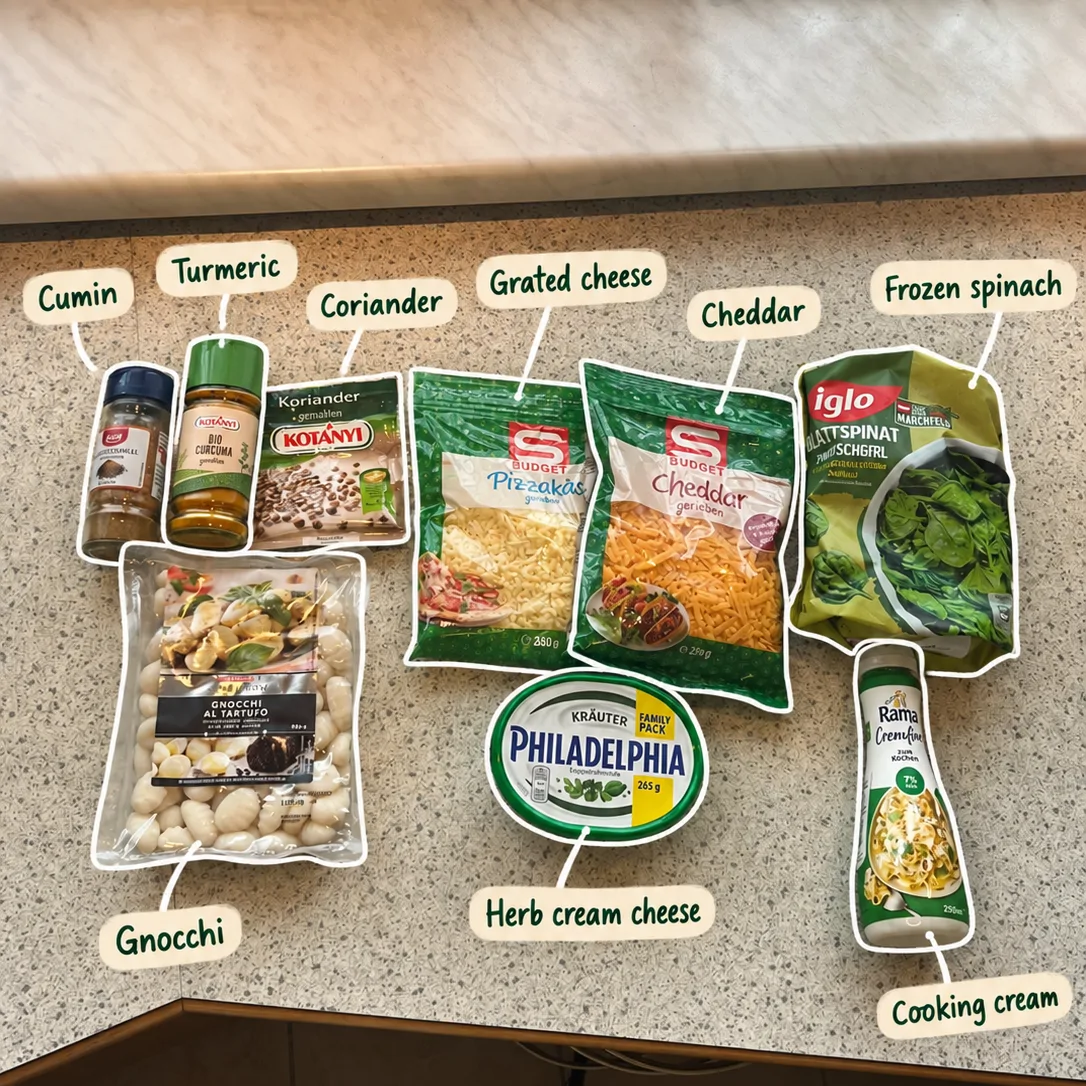
FOLLOW-ALONG EXAMPLE — ingredients for four servings
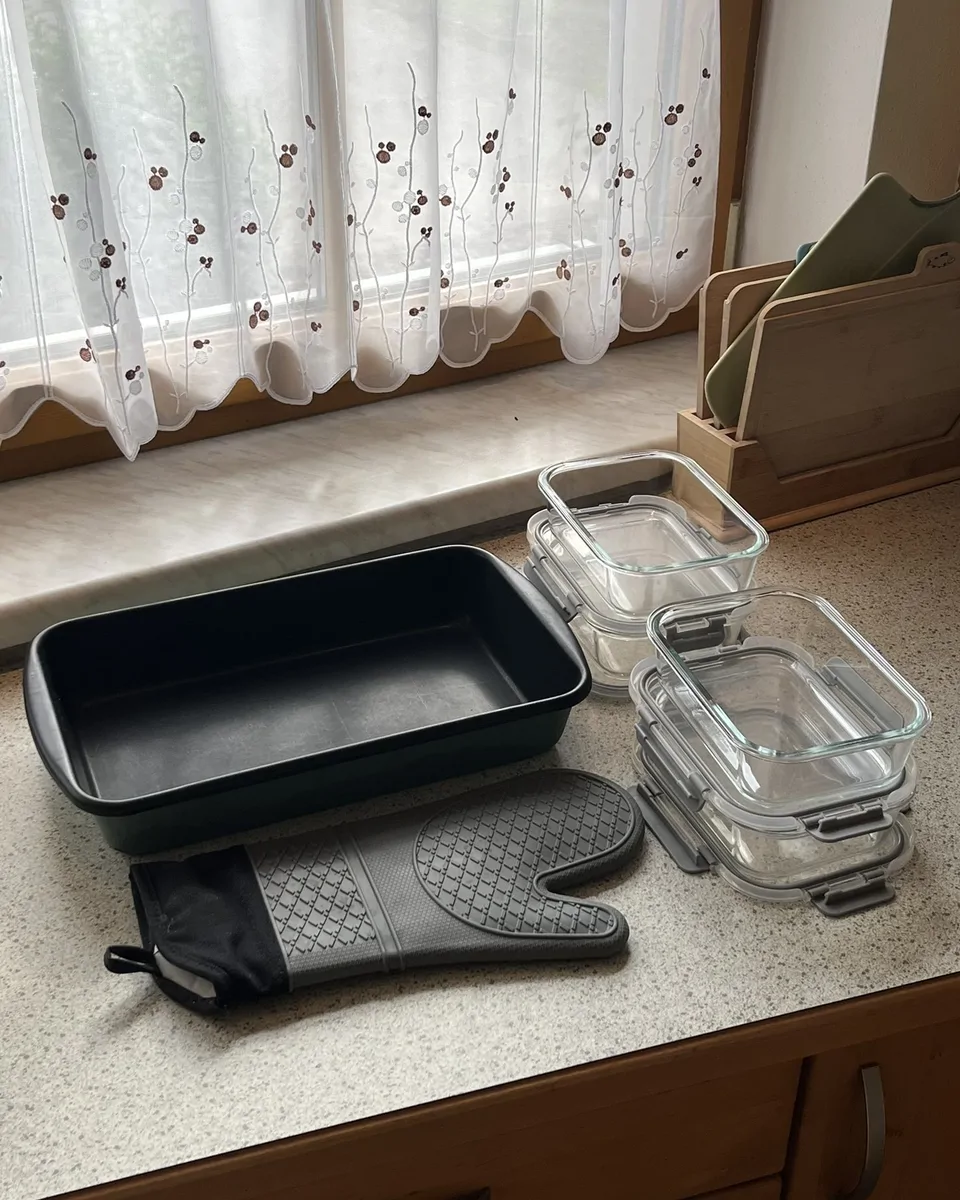
Your baking dish and a sturdy mixing/serving spoon.
Kitchen scales, a measuring jug and measuring spoons.
Oven gloves and a heat-safe place to put the dish.
Four clean, shallow food containers and their matching lids.
Labels and a pen.
A clean food thermometer for checking temperature.
The ingredients, with chilled and frozen items kept cold until needed.
Check the containers' instructions for hot food, freezing and microwave use. Make room in the fridge and freezer before the food is ready.
Wash your hands and clean the work surface and utensils. Keep raw animal foods separate from cooked or ready-to-eat food if you're preparing other dishes alongside this one. FSA hygiene guidance.
Tip: Find all four matching lids now. Your containers are ready.
6. Cook the recipe
FOLLOW-ALONG EXAMPLE
Instructions
Temperature
Preheat the oven to 180 °C355 °F.
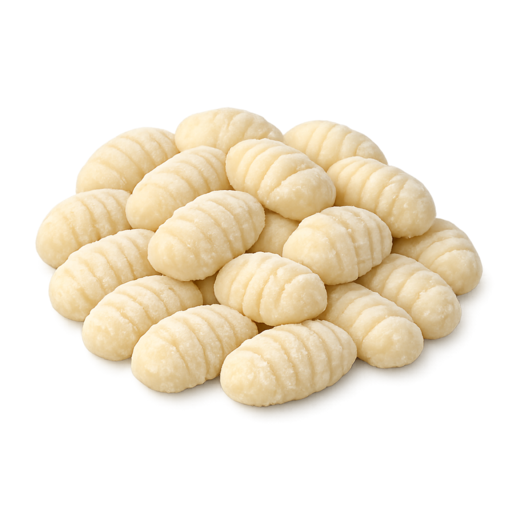
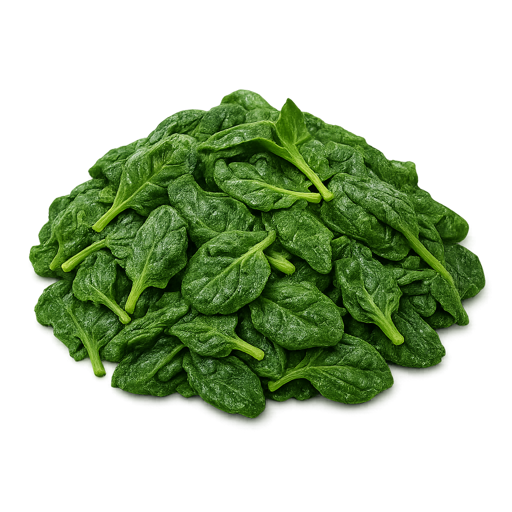
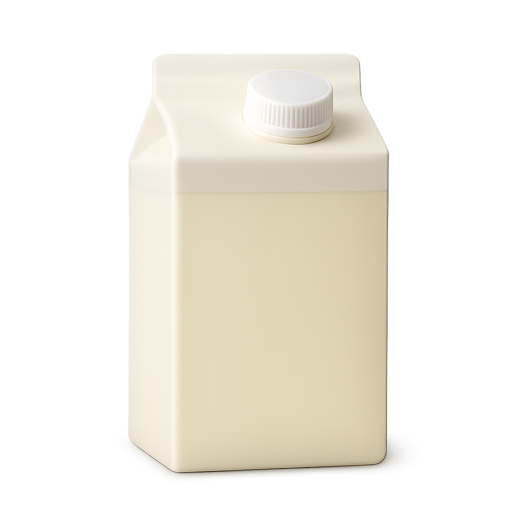
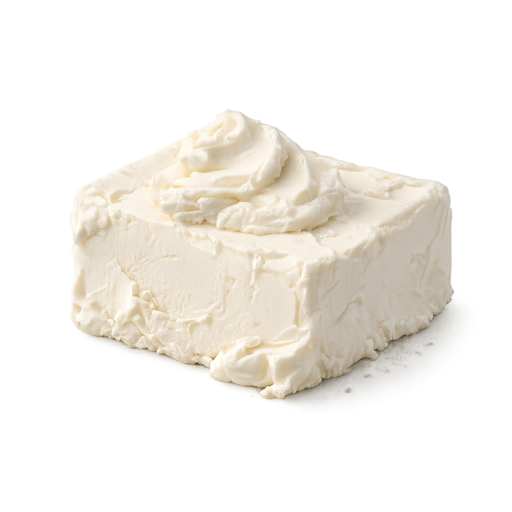
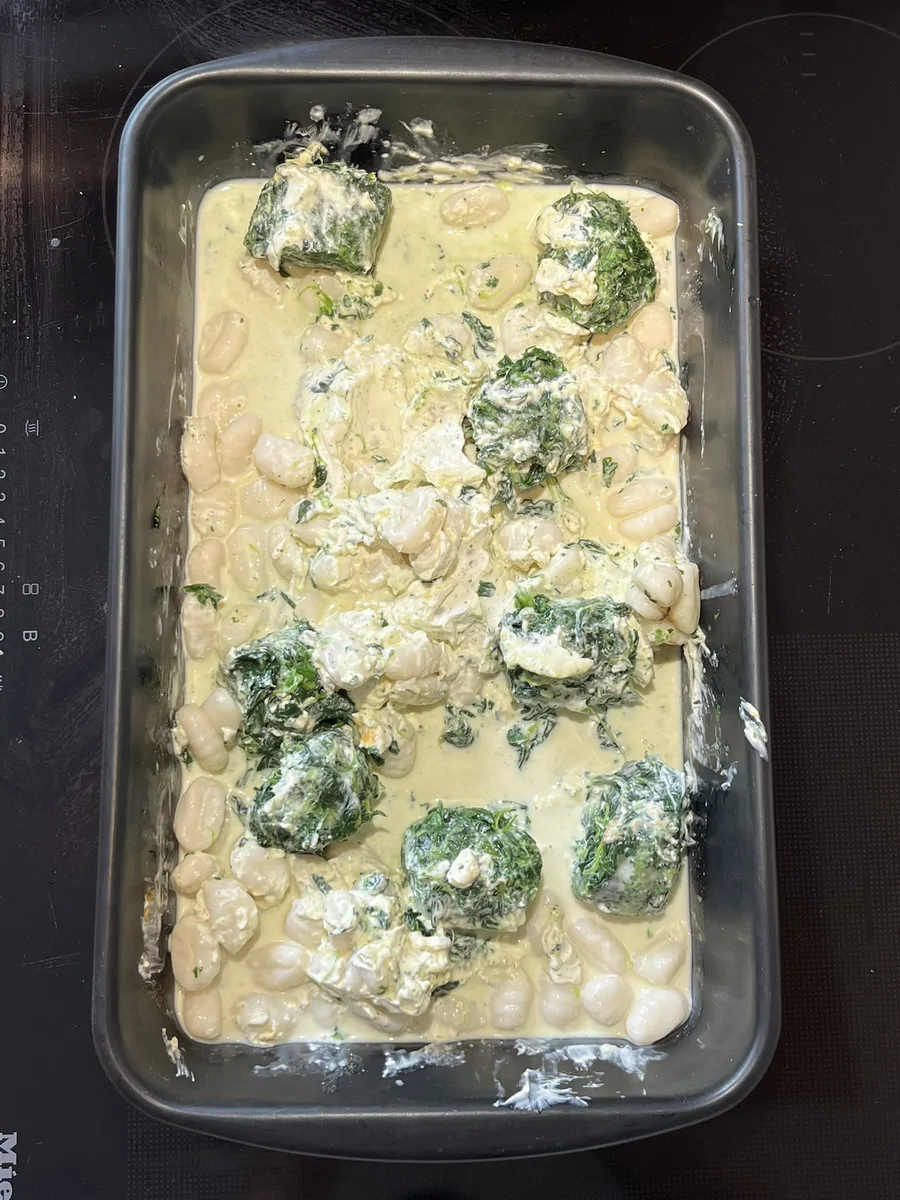
Add 500 g Gnocchi, 400 g Frozen leaf spinach, 250 ml Light cooking cream and 200 g Light cream cheese to a baking dish.
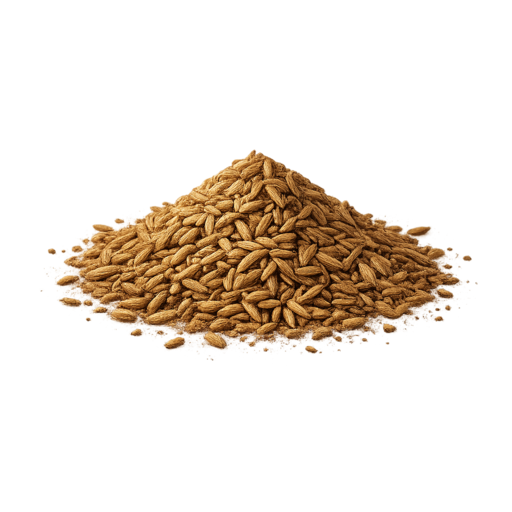
Season with 1 tsp Salt, ½ tsp Black pepper, ¼ tsp Ground turmeric, ¼ tsp Ground cumin, ¼ tsp Ground coriander.
Bake at 180 °C355 °F for 20 minutes until the spinach has softened and the sauce is hot.
Stir everything well until creamy.
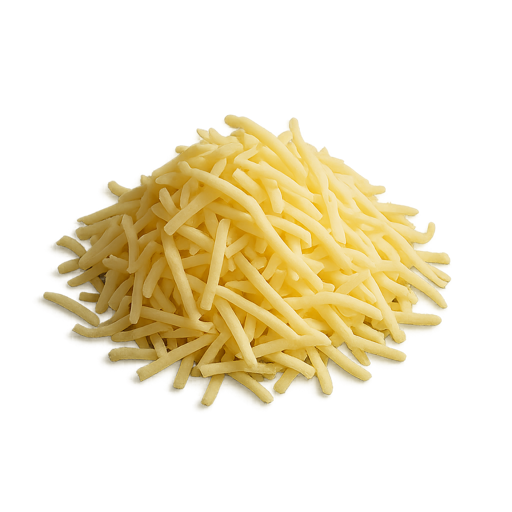
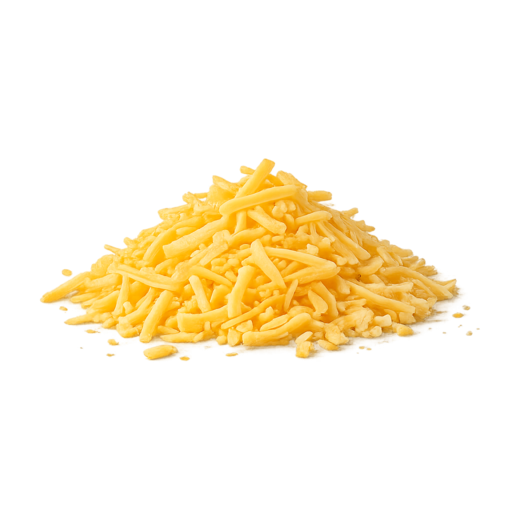
Top with the 75 g Shredded cheese and 75 g Shredded cheddar cheese.
Bake again at 180 °C355 °F for 10 minutes until the cheese is melted.
Put ingredients away, wash the measuring tools and clear a space for portioning. Label the four containers with the dish name, cooking date and Monday, Tuesday, Wednesday or Thursday.
Check that it's ready
Check that the gnocchi are cooked through and the spinach has no frozen clumps. Follow the specified products' cooking instructions. Frozen vegetables need thorough cooking; melted cheese alone is not a doneness check. A food thermometer can check the centre against the FSA's cooking target of 70°C for two minutes. FSA cooking guidance.
The timer tells you when to check. If the food isn't cooked through, continue cooking and check again.
7. Divide it into four lunches
FOLLOW-ALONG EXAMPLE
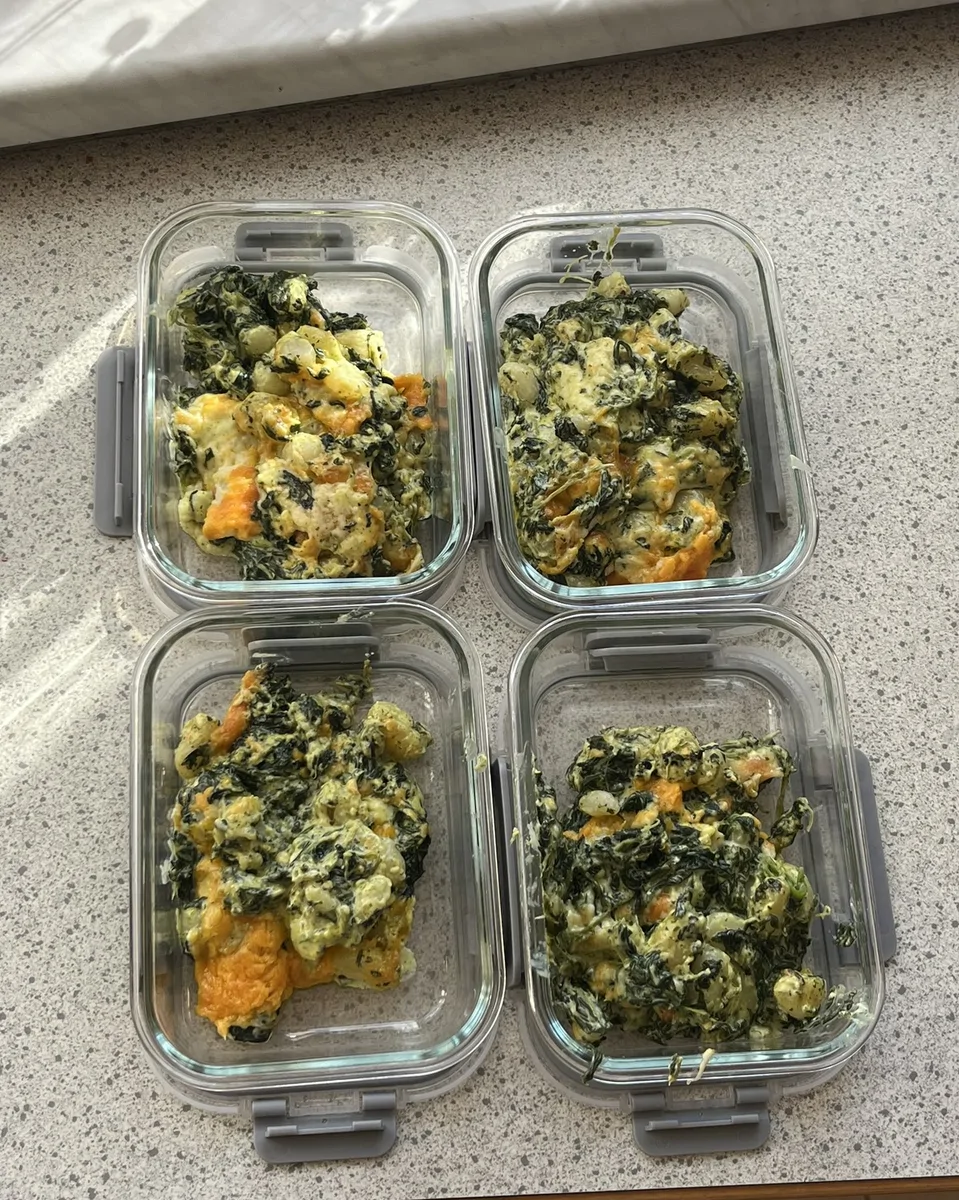
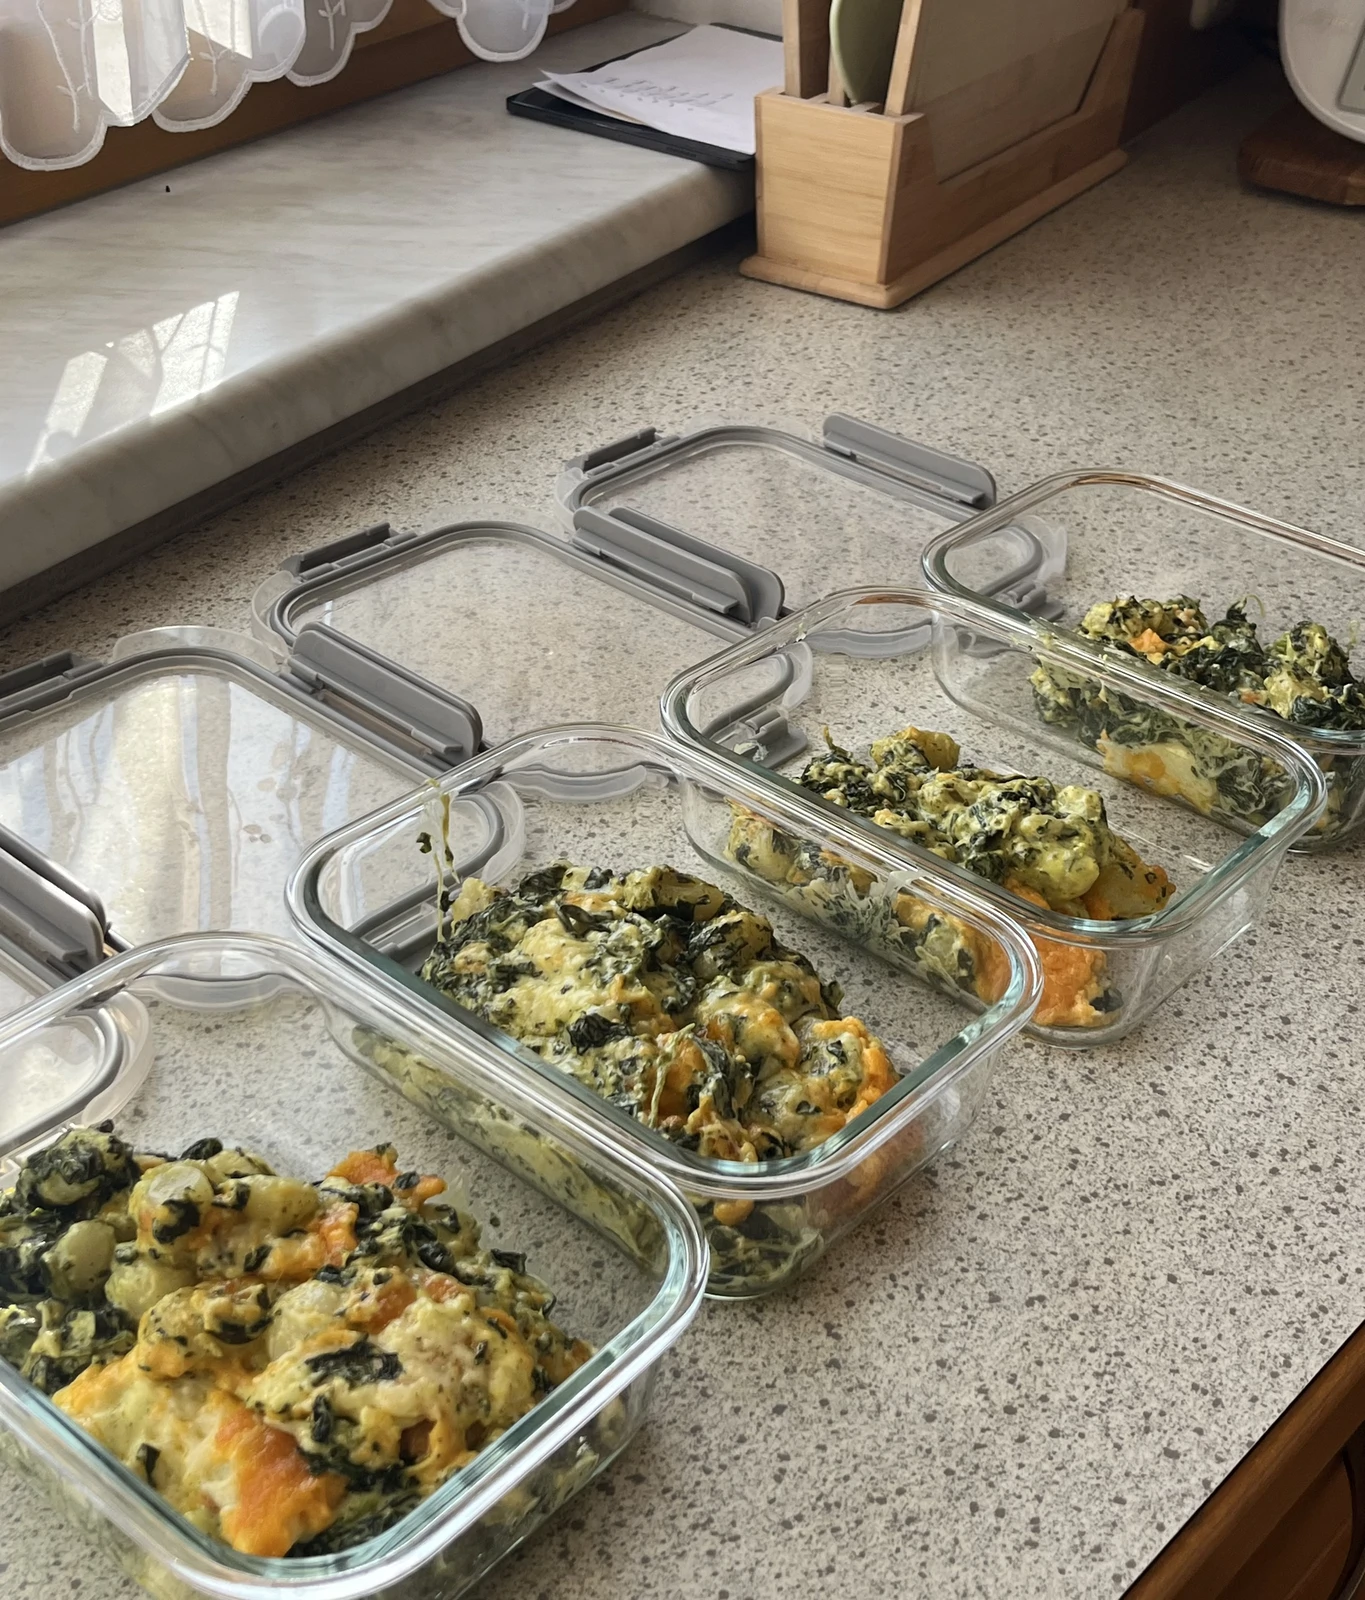
Set the dish on the heat-safe surface and place the four containers nearby. Put some gnocchi, spinach, sauce and topping into each one, then make another pass to even them out.
You don't need to weigh every spoonful. Aim for four similar portions, with the topping and sauce shared between them.
Cool promptly in shallow portions; refrigerate within one to two hours. Cool freezer portions promptly before freezing. Use a fridge at 0–5°C and a freezer around −18°C. This example follows FSA household chilling guidance.
Where today's four portions go
Label
Sunday destination
Monday lunch
Fridge
Tuesday lunch
Fridge
Wednesday lunch
❄️ Freezer
Thursday lunch
❄️ Freezer
Sunday late-afternoon cooking puts Tuesday lunch within 48 hours. Freeze later portions promptly; follow product instructions. FSA leftovers and freezing guidance.
Once the food is stored, the cooking session is finished.
9. Use your lunches during the week
FOLLOW-ALONG EXAMPLE
Get tomorrow's lunch ready
Day
Lunch
Reminder
Monday
Monday's chilled portion
—
Tuesday
Tuesday's chilled portion
Move Wednesday's portion to the fridge in time to thaw
Wednesday
Wednesday's thawed portion
Move Thursday's portion to the fridge in time to thaw
Thursday
Thursday's thawed portion
Notice what you'd change next week
Thaw fully in the fridge and use within 24 hours of full defrosting. Allow enough time; check the centre has thawed before reheating. FSA defrosting guidance.
Transport and reheat
Carry lunch in an insulated bag with frozen packs and keep it refrigerated at work. A container on its own doesn't keep food cold. FSA chilled-transport guidance.
Reheat only the portion you're eating, once, until hot and steaming throughout. Stir for even heating and follow the microwave's standing instructions. Check the centre, not just the edges. FSA reheating guidance.
Quick answers and safety reference
Keep the essentials visible: cool promptly, maintain chilled storage and follow the handling steps above. Appearance and smell cannot establish that food is safe. Poor storage can allow heat-stable toxins to form; reheating cannot undo that. BfR meal-prep guidance.
No freezer, no microwave or changed plans?
Without a freezer, plan a smaller batch and another cooking session for later lunches. Check any recipe adjustments before halving the ingredients.
Without reheating at lunchtime, choose a dish intended to be enjoyed cold and make a matching storage plan. The salad above is an option to explore; it still needs chilled transport and storage.
If a meal is cancelled, revise its storage plan while it is still within the relevant limits. Don't wait until food is too old to freeze it.
Can I use rice instead?
Use a rice recipe and its own handling plan. Under FSA guidance, cool rice quickly, ideally within an hour; refrigerate for no more than 24 hours. For freezing, cool in small portions and freeze within an hour. Thaw in the fridge, reheat once until steaming throughout and eat immediately. FSA rice guidance.
Which storage rules apply where I live?
The main example uses the FSA routine for England, Northern Ireland and Wales. Follow local and product-specific instructions where you live.
For Germany, consult the BfR's meal-prep recommendations. BfR guidance.
Texture is a separate question: a softer dish may be less enjoyable, while unsafe food may look normal. General freezer guidance doesn't promise that every recipe keeps the same texture.
Your first meal prep is done
You checked your week, chose a recipe, shopped for what was missing and gave each lunch a place to go. That's a routine you can use again.
Before next week, ask yourself
Did I make the right number of meals?
Did I enjoy eating this recipe several times?
Was the portion size right?
What felt annoying or slow?
Choose one thing to improve
Maybe you want fewer portions, another recipe, your containers ready earlier or a reminder to move lunch out of the freezer. Pick one change and try it next week.
If organising recipes, portions and shopping took the most effort, put your next plan together in PrepYourWeek.
Choose one suitable recipe and read it all the way through.
Count portions, including anyone eating on cooking day.
Check ingredients, equipment and cold-storage space.
Write a shopping list for what's missing.
Prepare clean containers, matching lids and labels.
Cook completely, following the recipe's doneness checks.
Divide into portions and follow the cooling/storage instructions.
Label each portion and choose its fridge or freezer destination.
Set thawing reminders and plan chilled transport and reheating.
After eating the meals, choose one improvement for next week.
Frequently asked questions
What is meal prep?
Meal prep means planning and preparing meals or ingredients before you intend to eat them. It can include complete pre-portioned meals, batch cooking, prepared ingredients or components, planned leftovers and freezer portions.
You do not need to cook seven identical meals at once. For beginners, a flexible combination of a few prepared meals and reusable components is often easier to manage.
How many days should a beginner meal prep?
As a practical starting point, Harvard recommends preparing meals for about two to three days. This keeps the first prep session manageable and lets you learn what works before increasing the amount.
Two to three days is a beginner workflow recommendation, not a universal food-safety limit. For later portions, freezing suitable food or doing a small midweek prep can be preferable to keeping everything refrigerated all week.
How long does meal prep last in the fridge?
There is no universal number that applies to every meal. Official recommendations differ by country and particular foods may require more specific handling.
The UK's Food Standards Agency advises eating leftovers within 48 hours or freezing them. German federal guidance gives two to three days for prepared leftovers, while USDA generally gives three to four days for cooked leftovers under US refrigeration guidance. Follow the guidance that applies where you live and freeze later portions when appropriate.
Can you freeze meal prep?
Yes. Freezing suitable meals or portions is a practical way to prepare food for later without relying on extended refrigerator storage.
Freeze food promptly and use containers intended for freezer use. Label the contents and date. For a simple European beginner routine, thawing in the refrigerator is a good default; EFSA describes refrigerator thawing as the safest method. Follow any more specific product or recipe instructions.
Should food cool completely before going into the fridge?
Do not leave cooked food at room temperature for hours waiting for it to become completely cold. EFSA advises not leaving cooked food at room temperature for more than two hours.
For large batches, dividing food into smaller or shallower containers helps it cool more rapidly. The important principle is prompt cooling and refrigeration, not prolonged cooling on the kitchen counter.
Can you meal prep rice?
Yes, but cooked rice needs careful cooling and storage. Bacillus cereus spores can survive cooking, so leaving cooked rice warm or unrefrigerated for too long can create a food-safety problem.
National recommendations differ on refrigerated storage duration. The UK FSA advises eating or freezing cooked rice within one day, while German guidance does not use the same universal one-day maximum when rapid cooling has been achieved. Cool rice rapidly, refrigerate it properly and follow the guidance applicable where you live. AGES provides further information on Bacillus cereus.
How should meal prep be reheated safely?
Reheat the portion thoroughly and evenly. The UK's Food Standards Agency advises reheating leftovers until they are steaming hot throughout. Other national authorities use specific temperature targets, so follow the guidance applicable where you live.
A practical approach is to remove only the portion you intend to eat and reheat that, rather than repeatedly warming the entire batch.
How can you meal prep without eating the same thing every day?
Prepare a small number of flexible components rather than several completely finished meals. For example, combine one base, roasted vegetables, a protein or pulse component and a sauce, then change the fresh toppings or the way you serve them.
You can also freeze some portions for later, alternate prepared meals with freshly cooked food or do a short midweek prep. Variety does not require cooking a completely different recipe for every day.
Ready to plan your week with PrepYourWeek
Create your meal plan, organize recipes, and make your shopping list in one place.